Integrate your GDrive / Sharepoint documents
Connecting your existing Google or Sharepoint document libraries offer a couple benefits :
- You can also make documents available for users who don’t have a Google/O365 account.
This is perfect for deskless workers for whom an 0365 license is too expensive. - Content editors can attach documents to news articles without having to leave the Spencer back office and don’t need to download and upload documents. Your single source of truth is on your own document library.
Understanding attachments
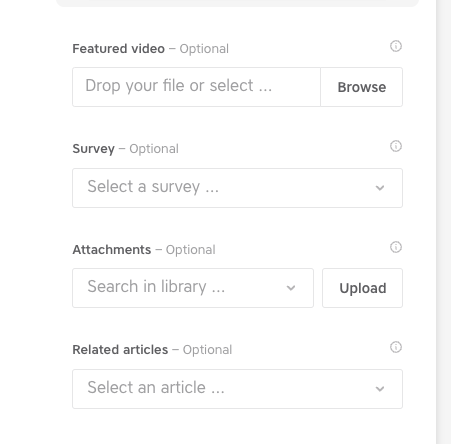
When you create a news article, you can link a document to this article.
For example: you create an article about the new healthcare plan, and you also want to attach the document directly for more detailed information.
There are 2 options :
- You click the upload button to manually upload a file from your computer.
- You search in the library (this will be directly from your connected Sharepoint / GDrive).

Setting up the connection
We will require support from your IT team for this.
Normally we set up your document library at the start, but you can add always additional document libraries later on as well.
You don’t have a Sharepoint of Google Drive? Or you just don’t have a clean document library and prefer to start fresh? No worries, we can also give you access to a Sharepoint setup from Spencer.
All steps for your IT team to get started can be found here.
Defining a folder’s audience
When we connect to your document library, we don’t use the permissions which you have setup in Sharepoint/ Google!
You can define in the Spencer back office who will (and will not) see certain folders.
Setting permissions is done on a folder level and not on a document level.
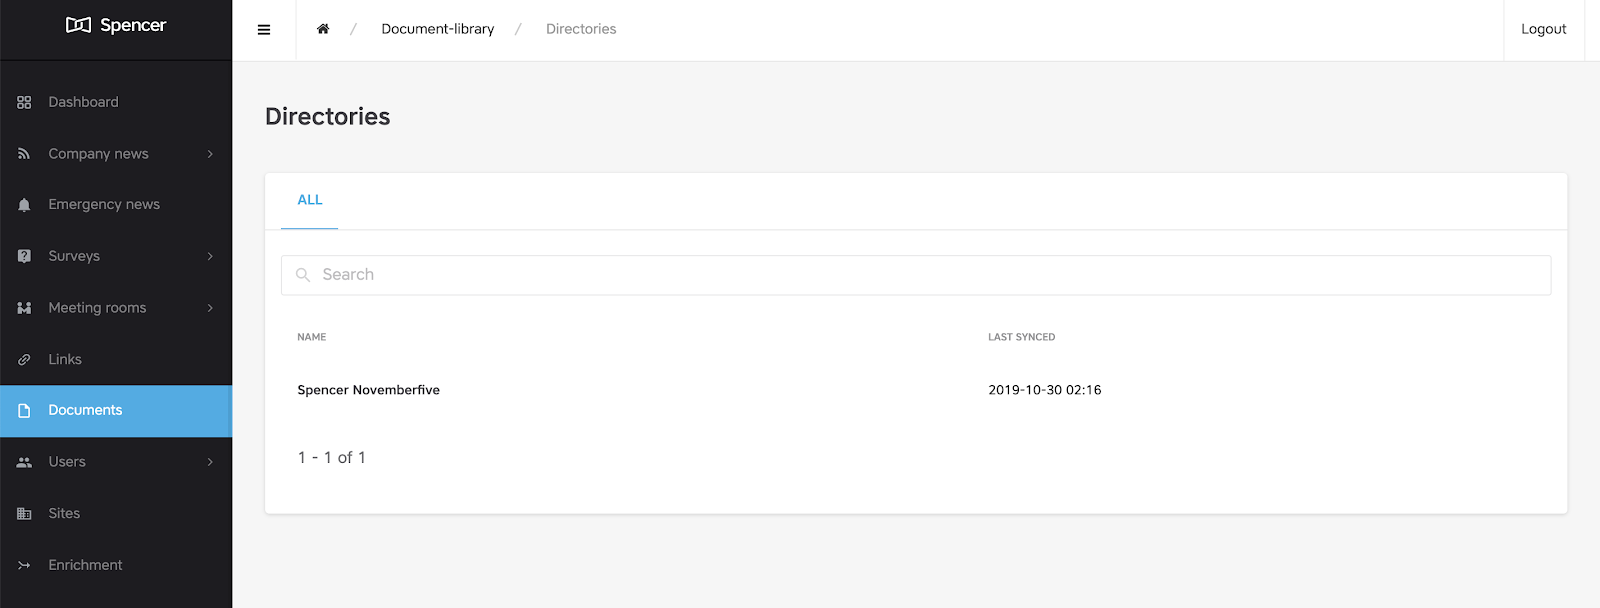
Navigate to Documents. Click the Directory item you want to segment

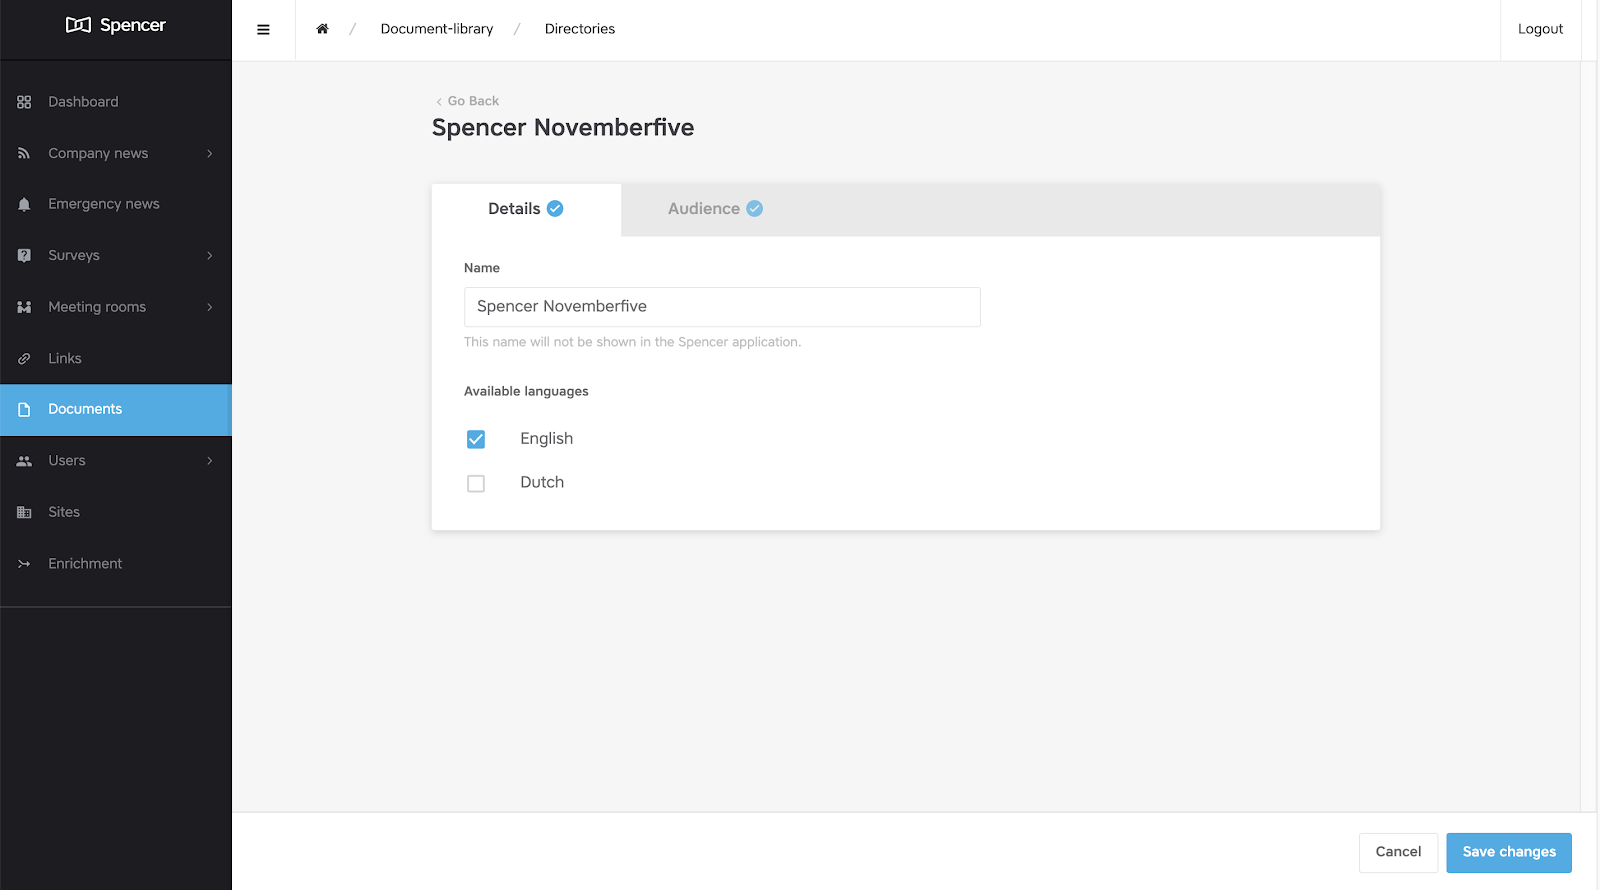
In the Details section you can specify accessibility of this entire Directory based on end users language setting. Below we’ve specified that only users with their app in English have access.

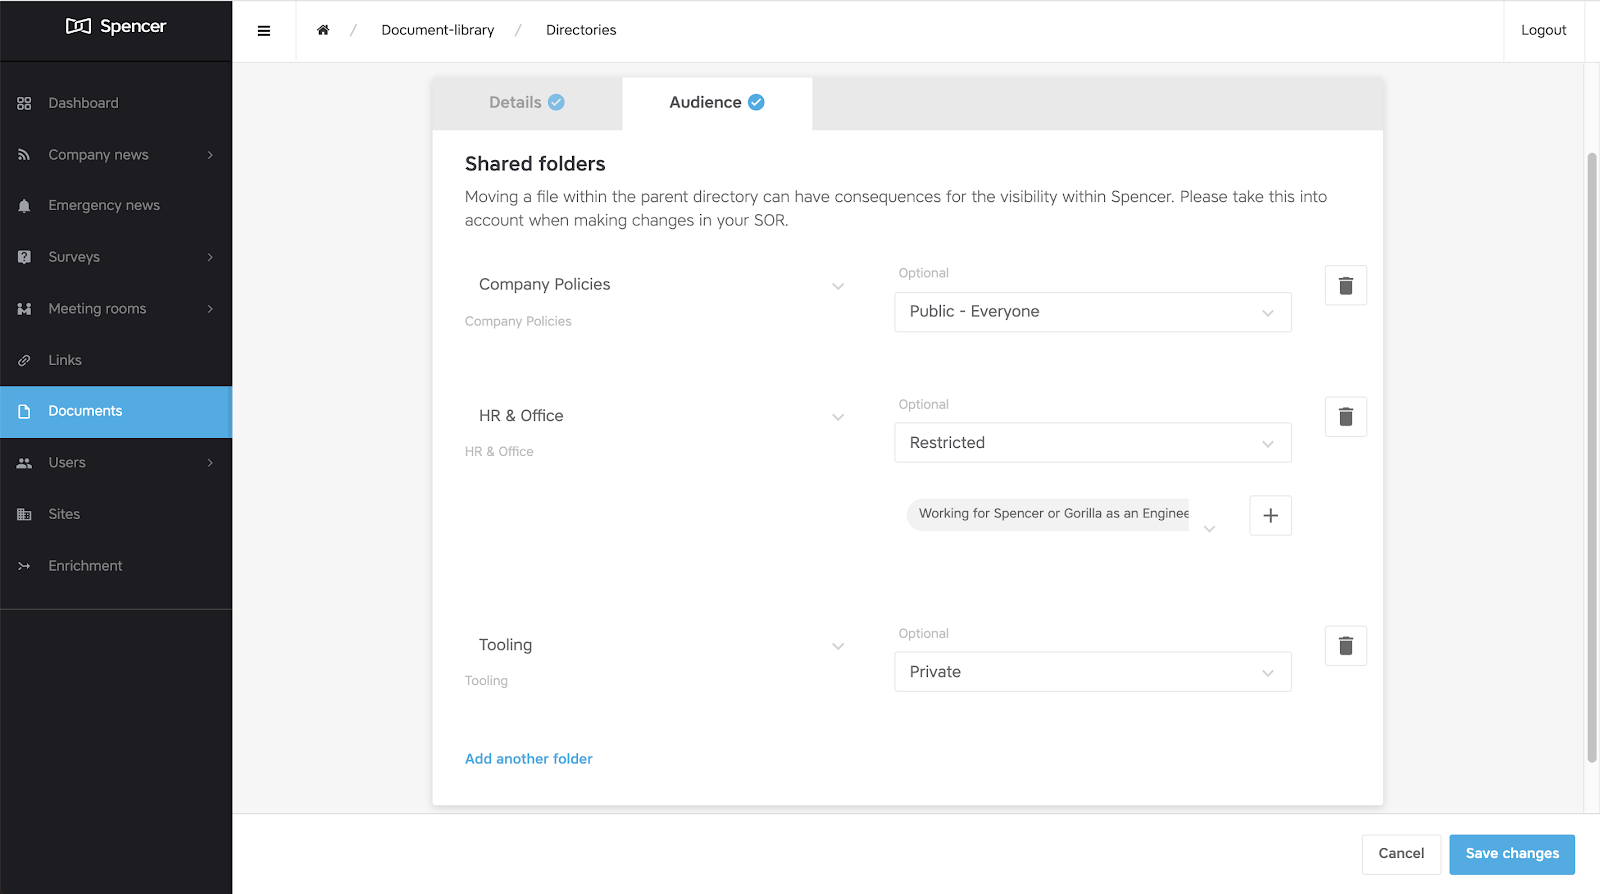
Click Audience to set the access rights for this Directory.

.There are 3 access right settings you can configure on a folder:
-
Private (default): no users can access/see this folder & its content.
-
Public: all users can access/see this folder & its content.
-
Restricted: some users – one or more user lists – can access/see this folder & its content.
To set the access rights of a folder, select the folder on the left (e.g. Company Policies) and set the audience (e.g. Public).
Don’t forget to save your changes!
Access rights are set at the folder level. That means all files on folders underneath (no matter how deep) inherit the access rights of their parent folder.
If you grant access to Everyone on the main level 1.Policies, all folders below will be also available for everyone! Even if you would set 1.1 It Policies only to a limited audience!
1. Policies
1.1 IT Policies
1.2 HR Policies
Any questions?
Our Customer Success team is here to make your life easier!